Apron Prototype Tutorial
Materials and Equipments
Materials:
-Newspaper(s)
-Glue
Equipments
-pen or marker
-ruler or measuring tape
-scissors
-a real apron as the pattern
Materials:
-Newspaper(s)
-Glue
Equipments
-pen or marker
-ruler or measuring tape
-scissors
-a real apron as the pattern
|
1. Prepare the equipment and materials first.
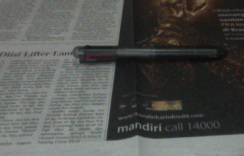
We used newspaper and glue. For the real apron later on, we will use fabric and stitches. Also we will replace pen with tailor chalk or a tracing wheel. For the newspaper, we cut it into 110cm in length. *the picture : the pen and the newspaper as the chalk and the fabric 2. Draw the Apron
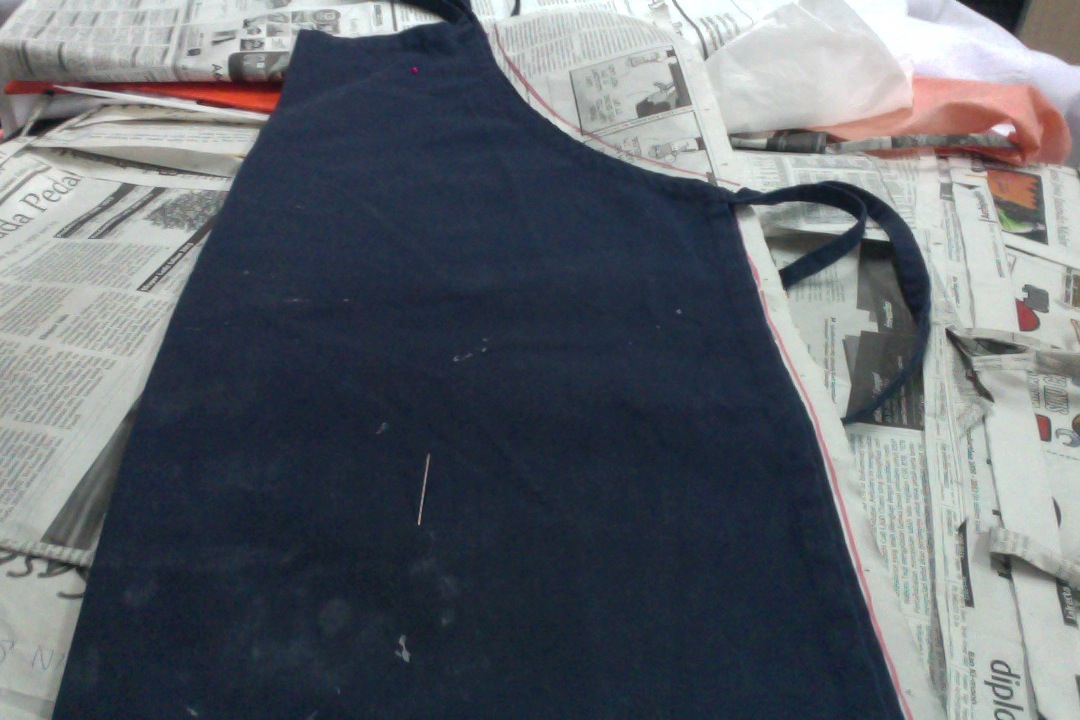
We have to draw the apron on the newspaper in order to know the shape later when we cut it. To draw the apron, we trace it. But we have to spare space on the sides so we can fold the space inside. Our class gave space 1 cm, but we can extend the length of the sides. *the picture shows the drawing by tracing the real apron on the newspaper. |
|
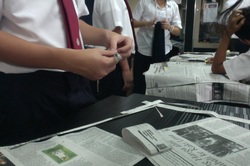
3. Draw 4 straps
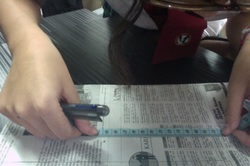
Same like the apron, we have to draw the straps on the newspaper, but since the straps are already stitched in the real apron we use when tracing, we have to draw the strap by our selves. There should be 4 45cm x 3cm straps, and since we draw on the folded newspaper, we divide 45 by two. So, we draw 22.5cm x 3cm on the newspaper.
*the pictures shows me trying to draw the straps with a measuring tape
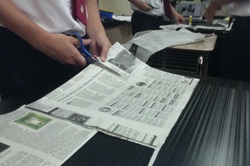
4. Cut the Apron body and straps
After finishing the drawing of the apron and the straps, we have to cut each drawing. We cut the apron on the outer side, meaning after the 1cm space we have made earlier. We also have to cut the straps, and since there are no outer sides, we can just cut every line we see in cutting the straps.
*the pictures shows my work partner cutting the apron
5. Fold the sides of the Apron
Before when drawing the apron, we have made the space out the apron. We also cut it out from the newspaper. So, now we fold it inside the apron. We have to fold it 2 times. Also with the straps, we fold it into 4 parts. We first open the strap, fold one of the edges of the straps, and fold the two sides into the middle. They don’t overlap each other, meeting on each end. Then we fold the middle part, so there must be one side closed and the other opened. We do that to all the straps. We also have to glue it into the apron. Two of the straps we glue it into the top corner, and we glue the other into the corner after the curve for the hand. But, one thing we have to remember is that we can’t gule it into the part where two of the 1cm folds are because it will be super thick. That is why we glue it beside the corners to the inside for the top straps and glue the two other below the corners for the bottom straps.
*the picture shows my work partner folding the straps to glue it on the apron
Apron Prototype Tutorial - Evaluation
Design Do you want to maintain/change? (Size, design)
I will maintain the design since I think I don’t need extension because I’m quite short, but maybe a little extension would be good. The design will be maintained, and I will add a pocket because I like pockets and I can put stuff there when I wear the apron.
Material What type of material will you use? How much? Why? Is there any other material? (If you change the size/design)
I don’t really change the design and size, so I don’t think I need more materials. I just need a little bit of extension if needed of the fabric because the sides will be 2 cm. I will also need a little bit of fabric for making the pocket.
Equipment Is there any other equipment you will use?
I will only use the mentioned one, sewing machine/needle, tailor chalk or tracing wheel, and scissors.
Technique Is there any process that you would like to change? Steps/methods
Straps and sides 2 cm.
